Esc
Tutorials Wired connection on Linux (Old tutorial)
Prerequisites
In order to register devices on the MiNET network, you have to add your MAC addresses on your account. To do so, you can follow the instructions on Adding devices on your MiNET account.
A more recent tutorial is available. We recommend you to only do the following tutorial if the other one fails for you.
Set up your PC with Linux (wired)
If you follow this tutorial, you will see how to set up your computer with Linux in order to use the MiNET wired network.
Adding the MiNET wired network
To configure your network, we are going to use a terminal. Open one, then :
- Type the following command :
nm-connection-editor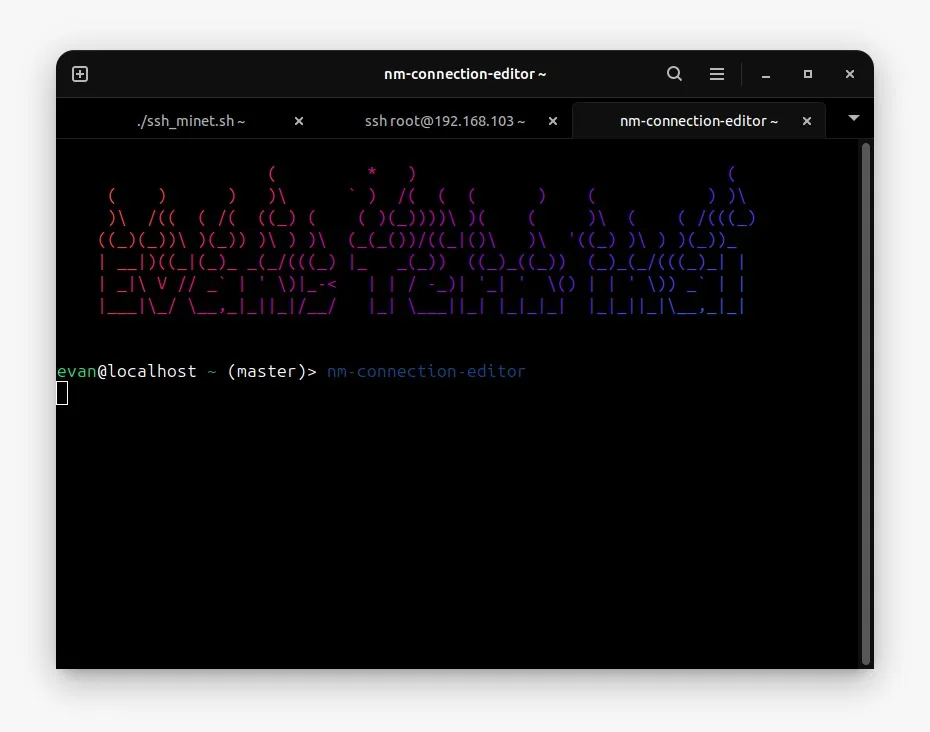
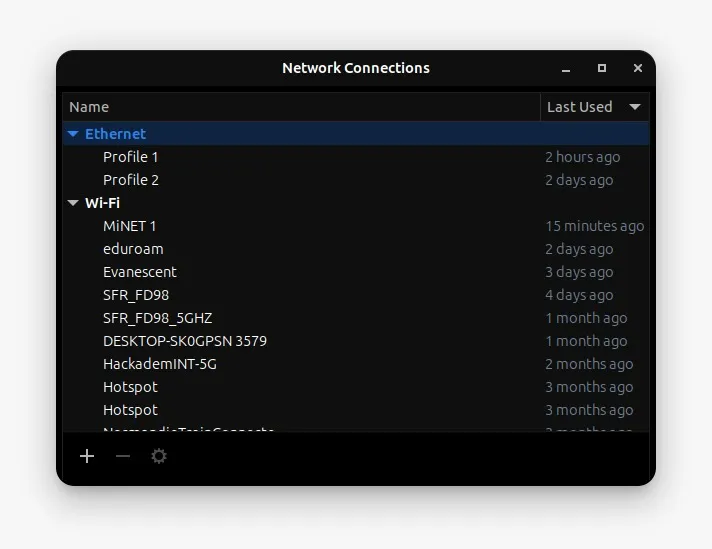
- The following window opens :
- In the window that opens, click on “Add” or ”+” and choose “Ethernet” in the dropdown list
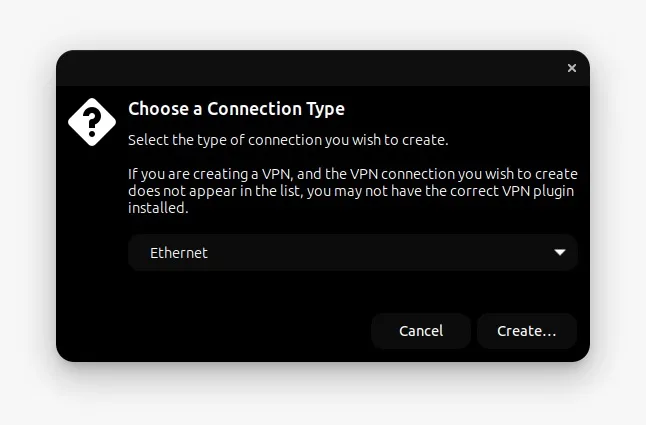
- Click on “Create”
- Give a name to your connection profile
- Choose the network card you wish to link to this new profile.
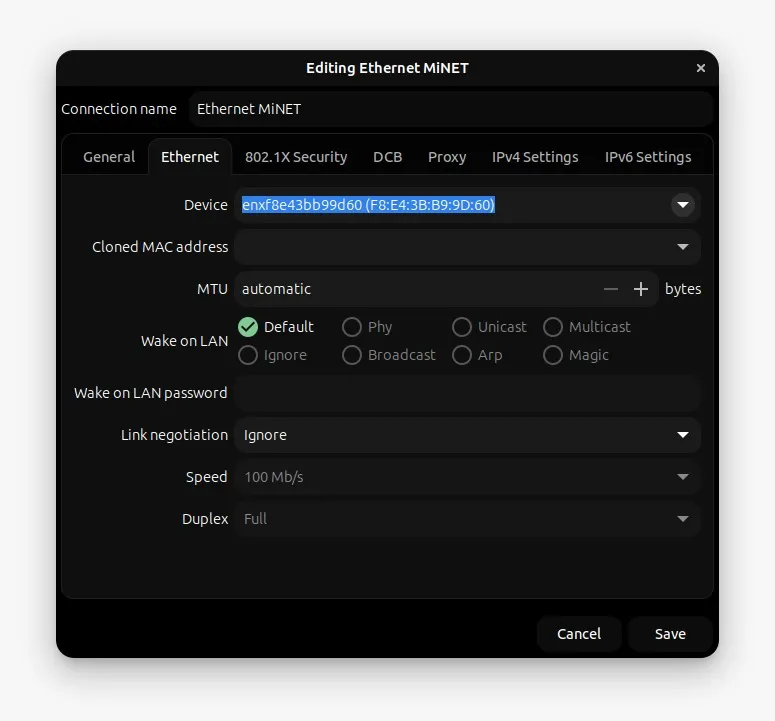 Once this is done, your connection profile is created, you only have to configure it.
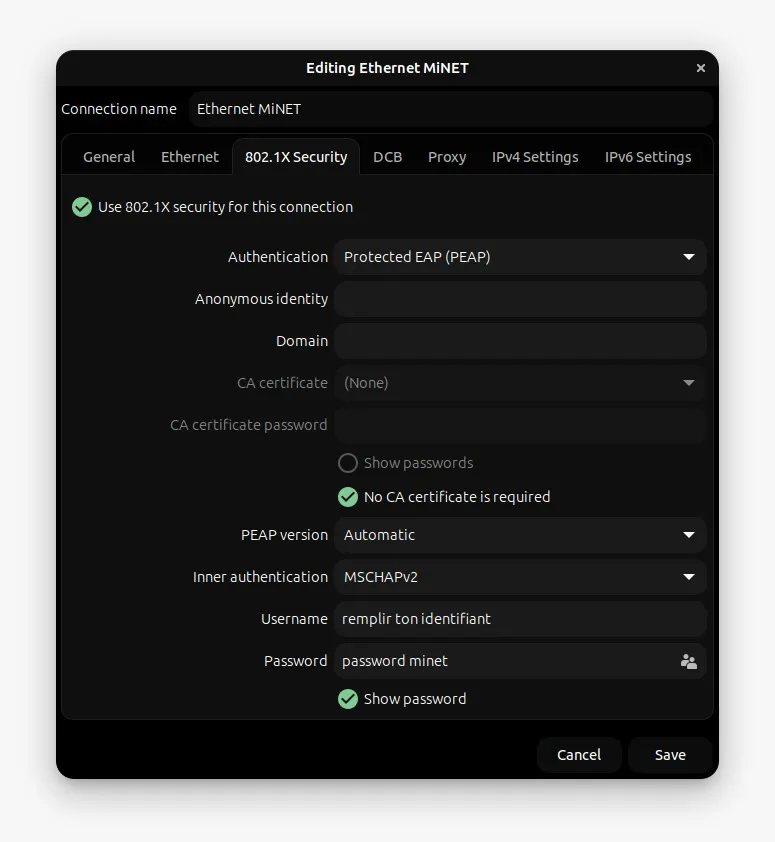
Authentication configuration
You have to choose the type of authentication you want. On the same window :
- In the “802.1X Security” tab, check the “Use 802.1X security for this connection” checkbox.
- Then, choose the “Protected EAP (PEAP)” in the drop-down menu for the Authentication.
- Check the box “No CA certificate required”.
- Check that the MSCHAPv2 authentication is chosen
- Finally, enter your MiNET login and password in the “Username” and “Password” fields respectively.
- Once this is done, you can close the window by clicking on “Save”.
 Once all of these steps are done, you only have to plug in your Ethernet cable, and you should be automatically connected on the MiNET wired network. Take note that the authentication can take a few seconds. Sometimes, rebooting your pc is necessary.